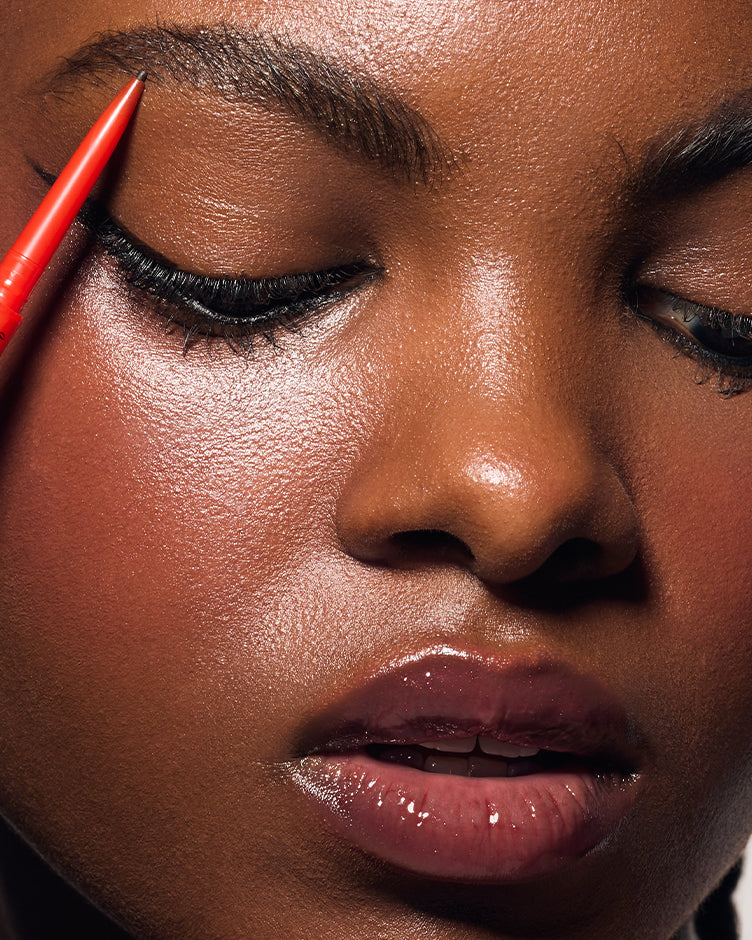
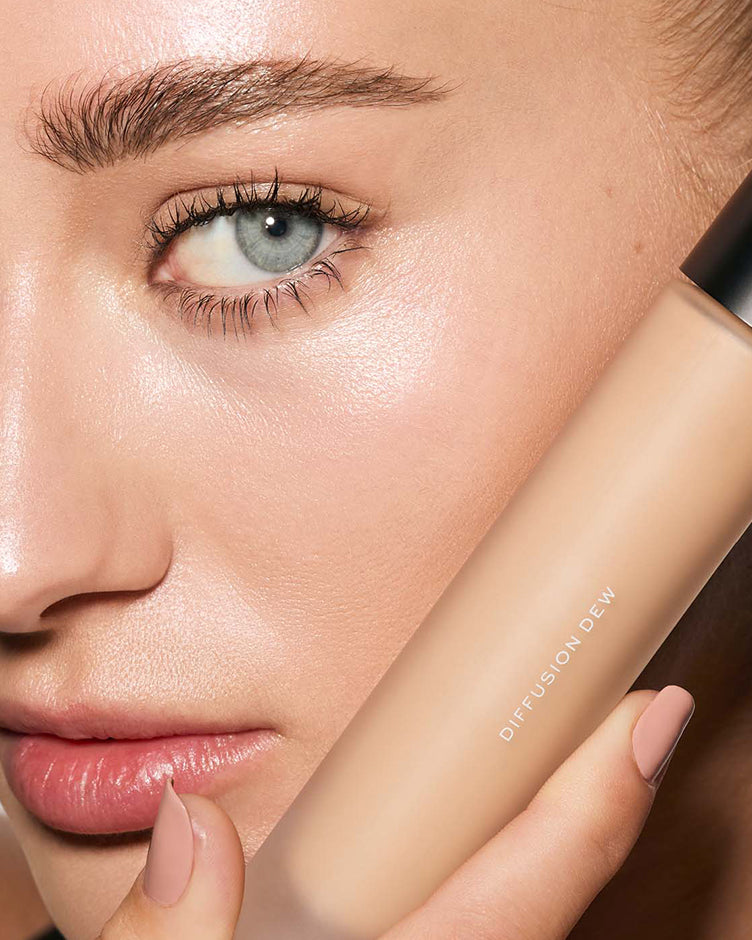
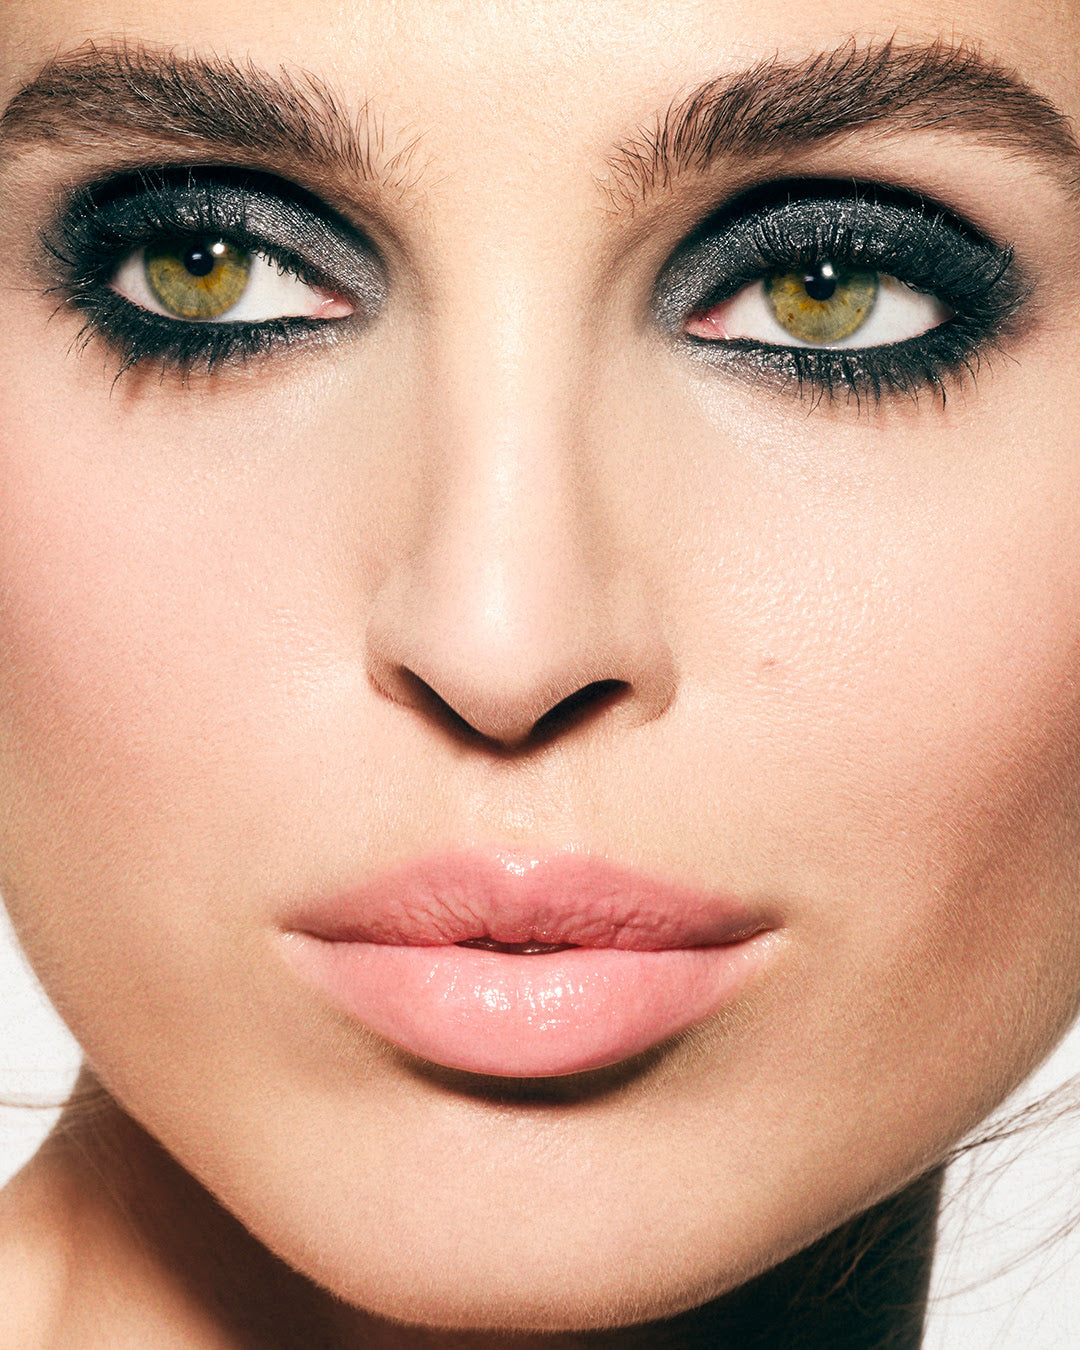
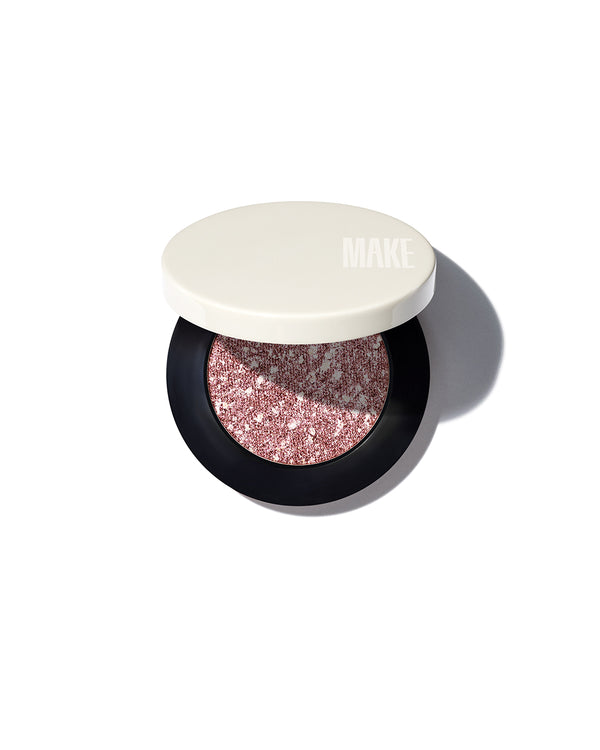
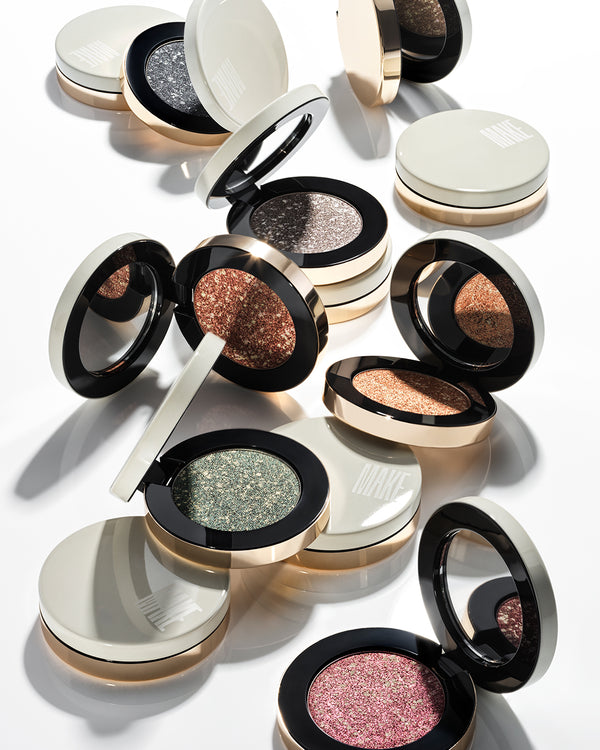
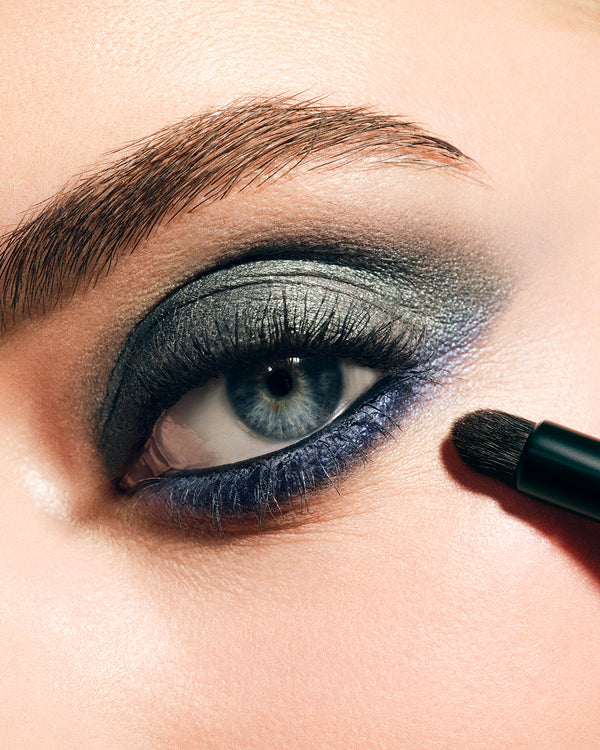
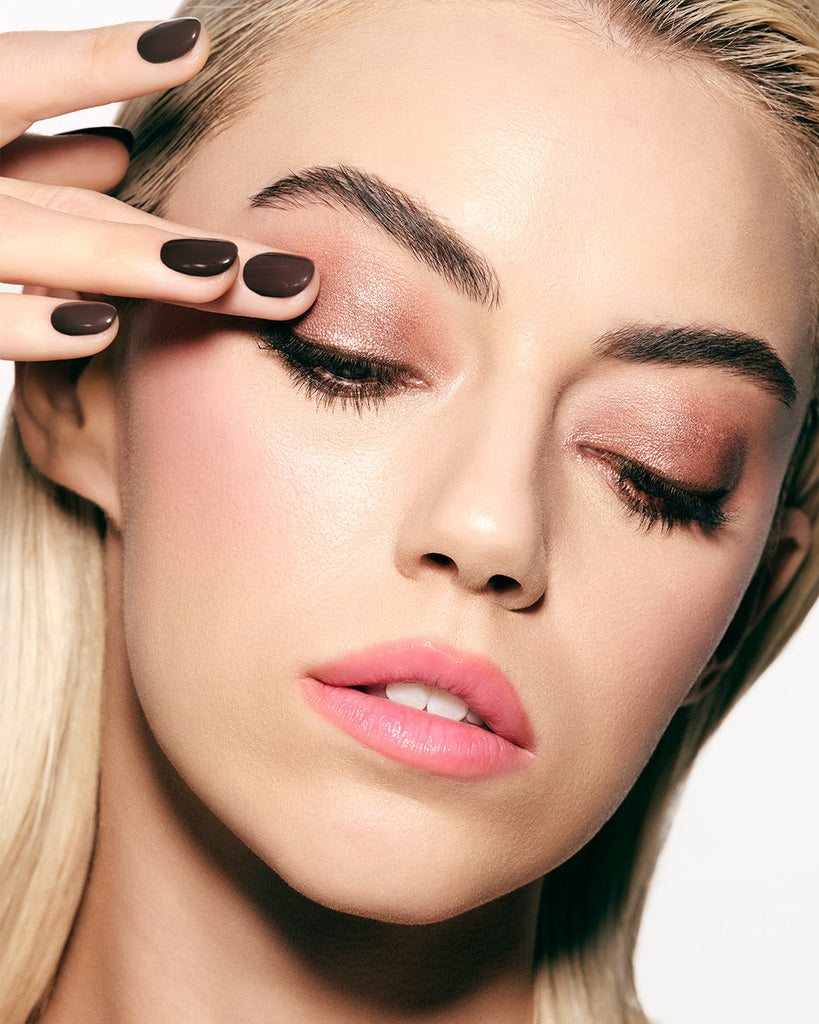
Applying metallic eyeshadow can be daunting, which is why we’re here to alleviate any scaries around elevating your eye makeup look. Read below for some of our tips and tricks for nailing the perfect eye look with MAKE’s Multi-Chromatic Metal-Reflecting Eyeshadow.
With performance and pigment at the core of our DNA, our mission at MAKE is clear: to create innovative, high performing formulas using sustainable botanicals, Lab Engineered Natural Ingredients (L.E.N.I.), and skin-friendly synthetics. The byproduct? Complexion products that set a new standard for achieving a 'skin-like finish.
Prep Your Eyelids:
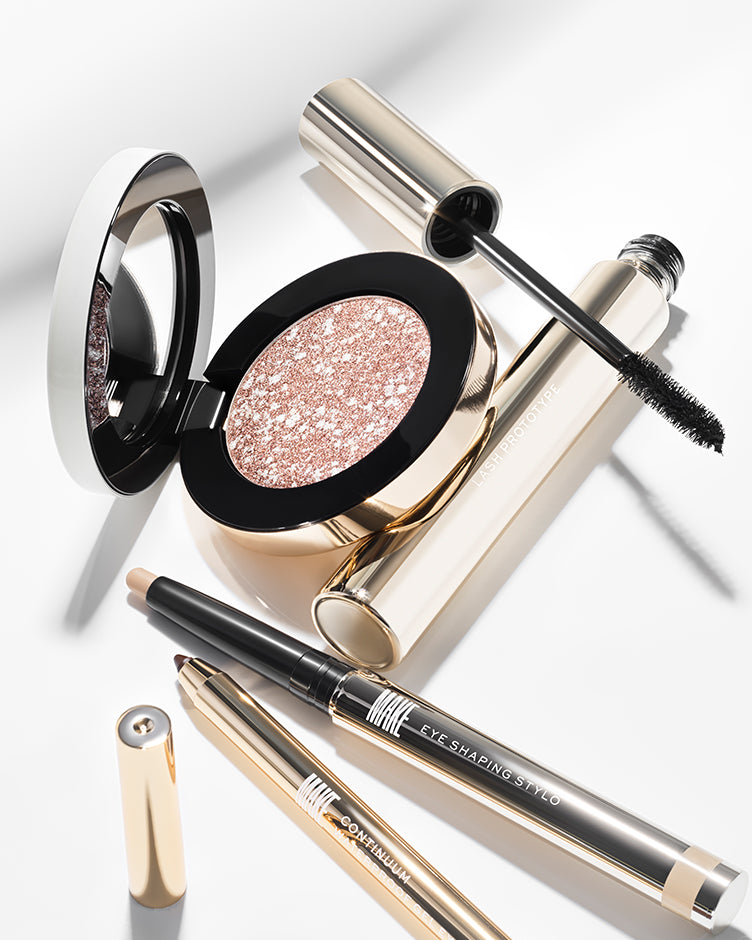
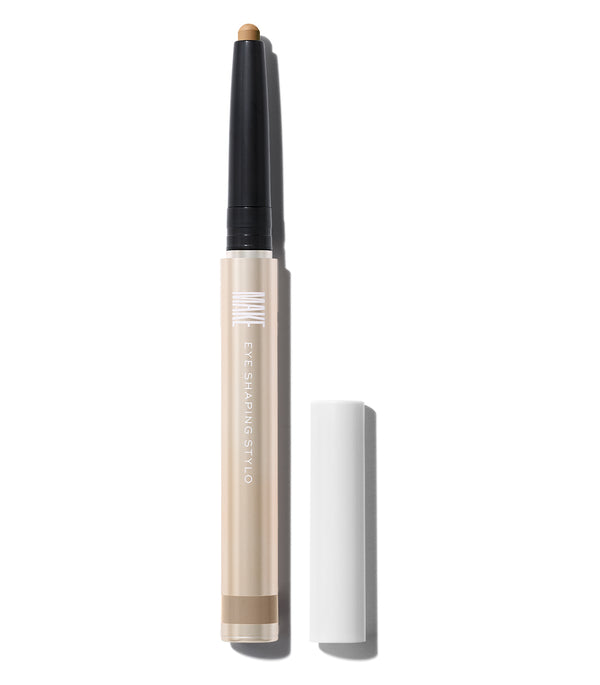
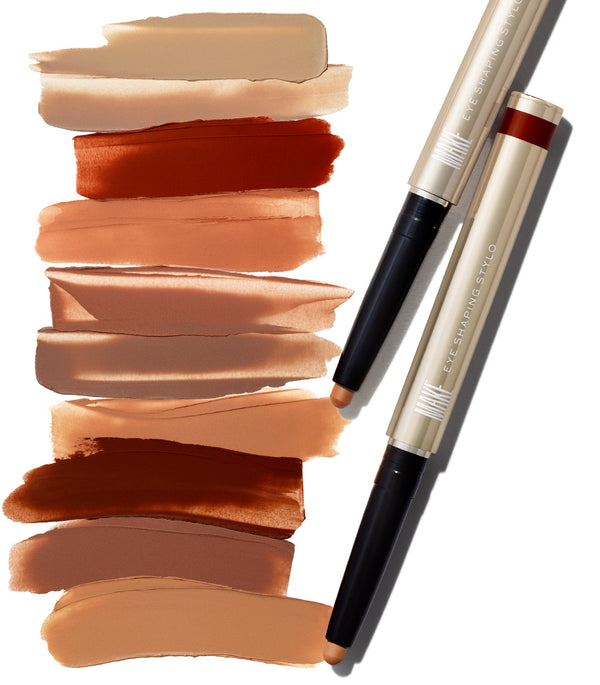
Start with a clean and moisturized eyelid and use an eyeshadow primer. Applying an eyeshadow primer creates a smooth, even base and will help your eyeshadow adhere better. For a primer, we like using the Eye Shaping Stylo in a shade that is closest to your skin tone.
For An All Over Eyeshadow Look:
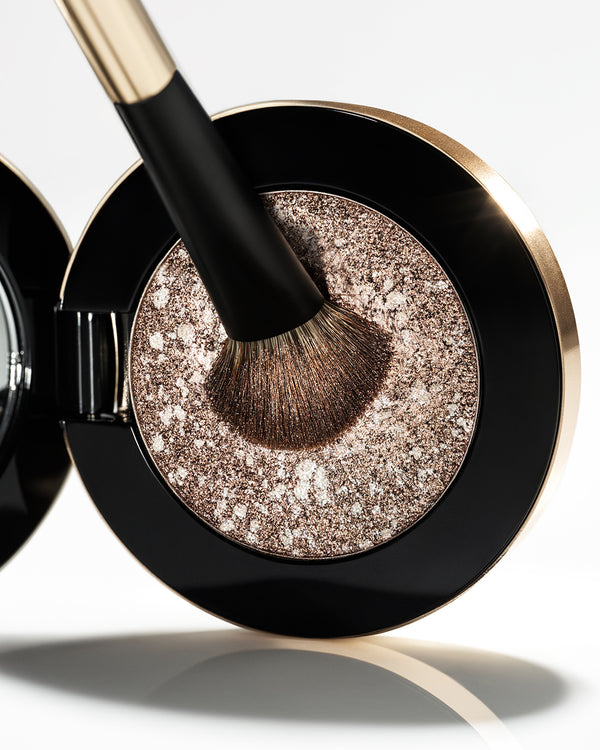
Formulated with special treated micas, reflective pearls and conditioning lipids that provide its creamy texture, our highly pigmented, metal-reflecting Multi-Chromatic Eyeshadow is guaranteed to elevate your eye makeup game. With 12 highly-pigmented shades ranging from metallic neutrals to jewel tones, you can’t go wrong.
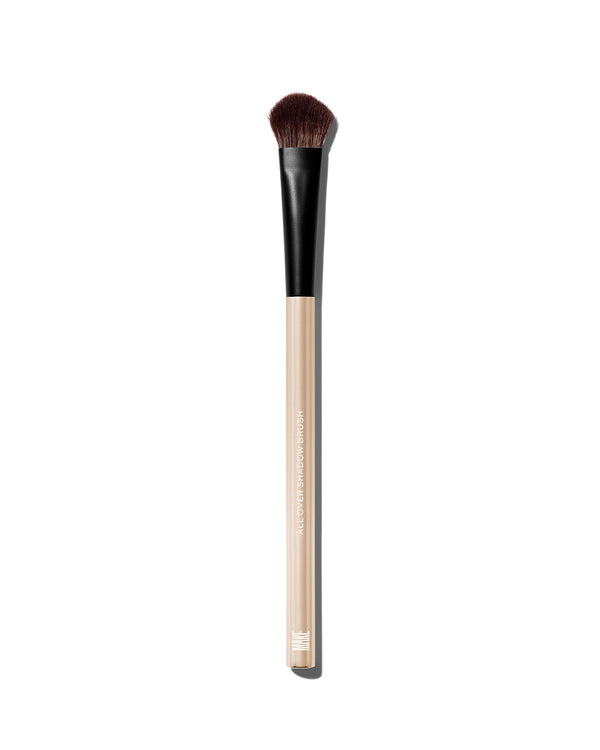
With the color of your choosing, swipe onto eyelids using the All Over Shadow Brush (sold separately) and blend. For a more intense pigment payoff, apply with your fingers. You may continue to use your fingers to blend, or opt for the All Over Shadow Brush to diffuse any harsh lines. To intensify pigment, simply layer.
Adding Dimension:
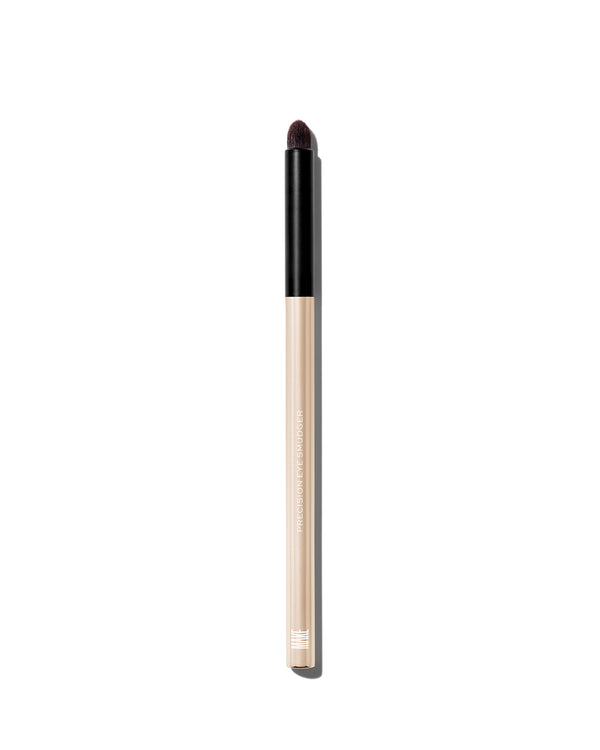
To add depth and dimension to eyes, select a shade deeper than your all-over shadow to apply along your lash line or the crease. For best results, dip our Precision Eye Smudger Brush (sold separately) into the pan and apply the pigment along the lash line (or creases) for a diffused, smoldering look. Blend until desired look is achieved, making sure to diffuse any harsh lines.
Highlight the Brow Bone and Inner Corners:
A little shimmer goes a long way. For even more definition, highlight the inner corners of eyes and the brow bone using a lighter, neutral shade of Multi-Chromatic Eyeshadow. Gently blend to diffuse any harsh lines for your most natural looking highlight.
Complete Your Look
To complete your look, apply Continuum Gel Eyeliner to your lash line and/or waterline for a more defined eye. Finally, apply Lash Prototype Volumizing Mascara for longer, fuller, thicker-looking lashes.
Et voila! Your metallic eyeshadow look is complete!
